What a Beaded-Row Extension Install Looks Like, Step by Step
From the first conversation to the final hair flip, here is what actually happens in the chair when we install beaded-row extensions.
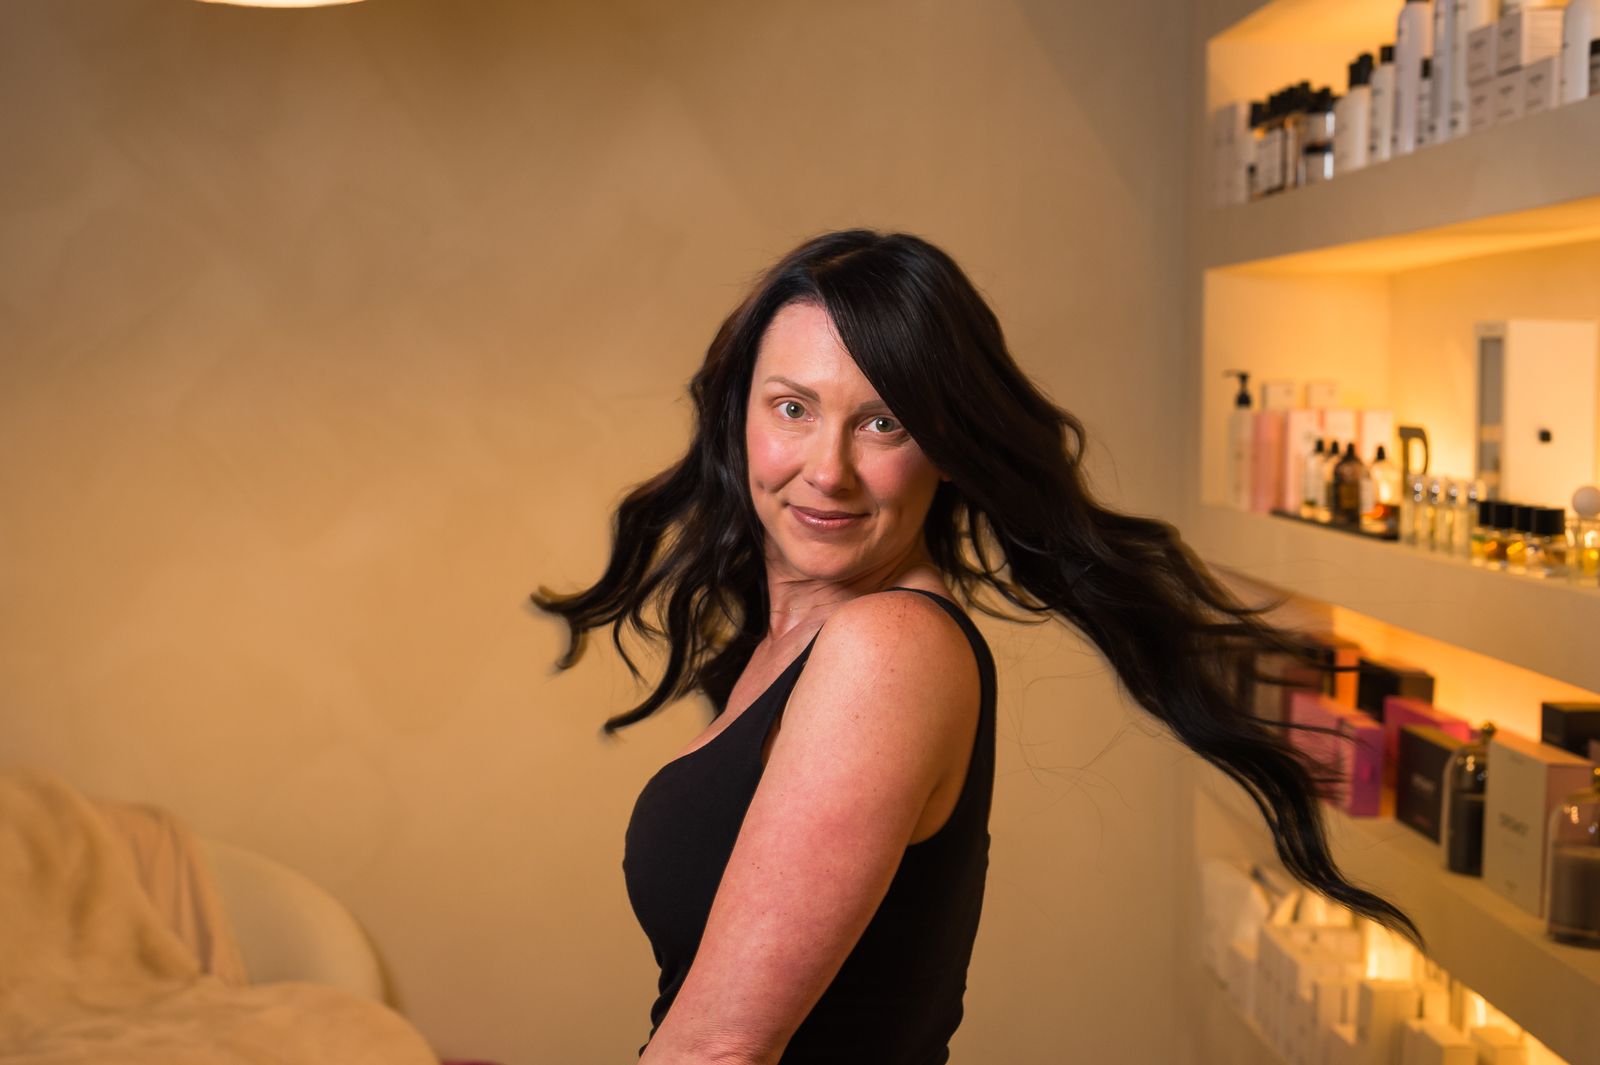
Beaded-row extensions are one of the most natural ways to add length and fullness, and one of the most misunderstood. People imagine glue, heat or hours of discomfort. In reality the install is calm, methodical and surprisingly gentle on your own hair. We photographed one from start to finish on a content day in the atelier, so you can see exactly what happens.
Before: the hair we started with
Our client came in with healthy, shoulder-length dark hair and wanted real length and movement without anything that looked added. That brief, and the condition of her own hair, decided the method before anything else did.
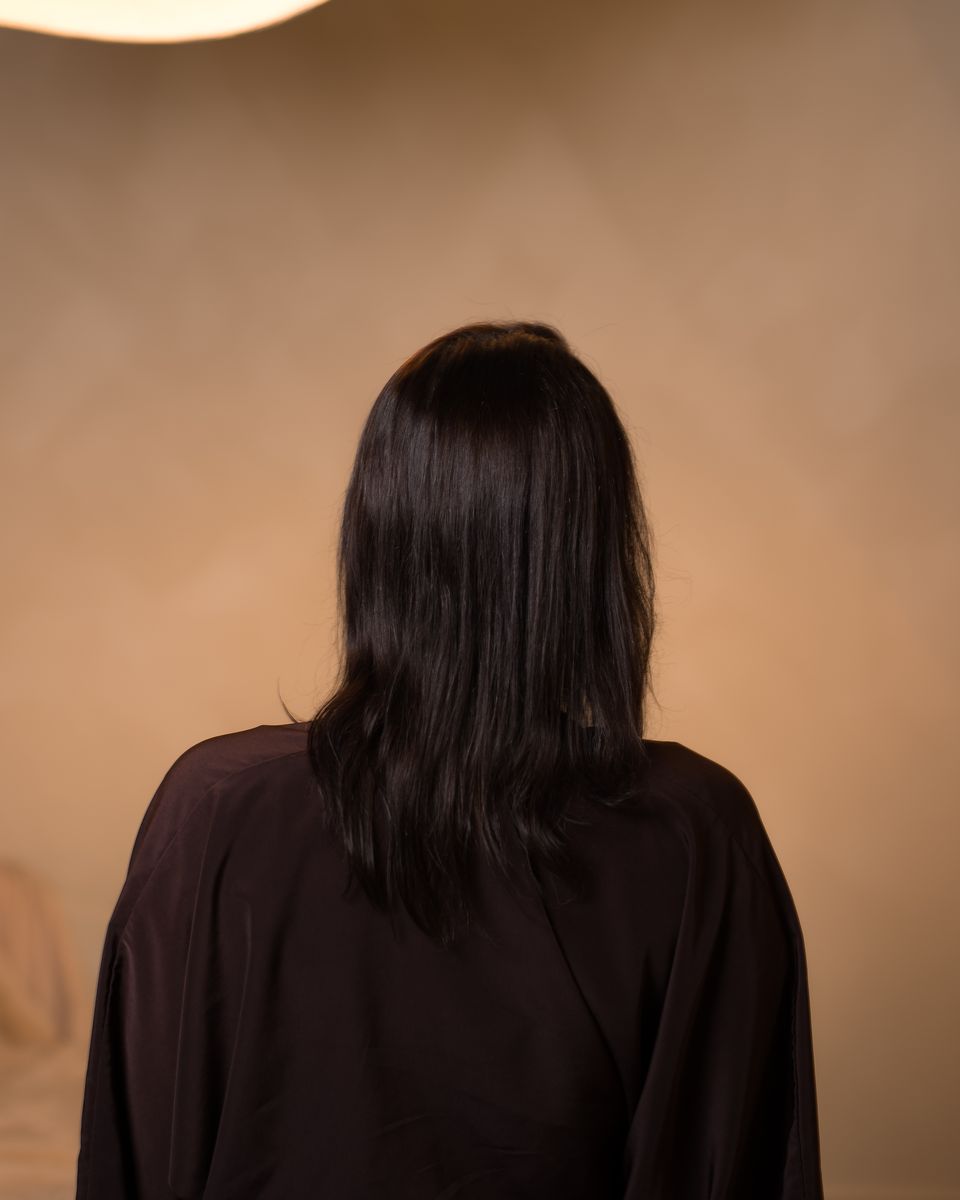
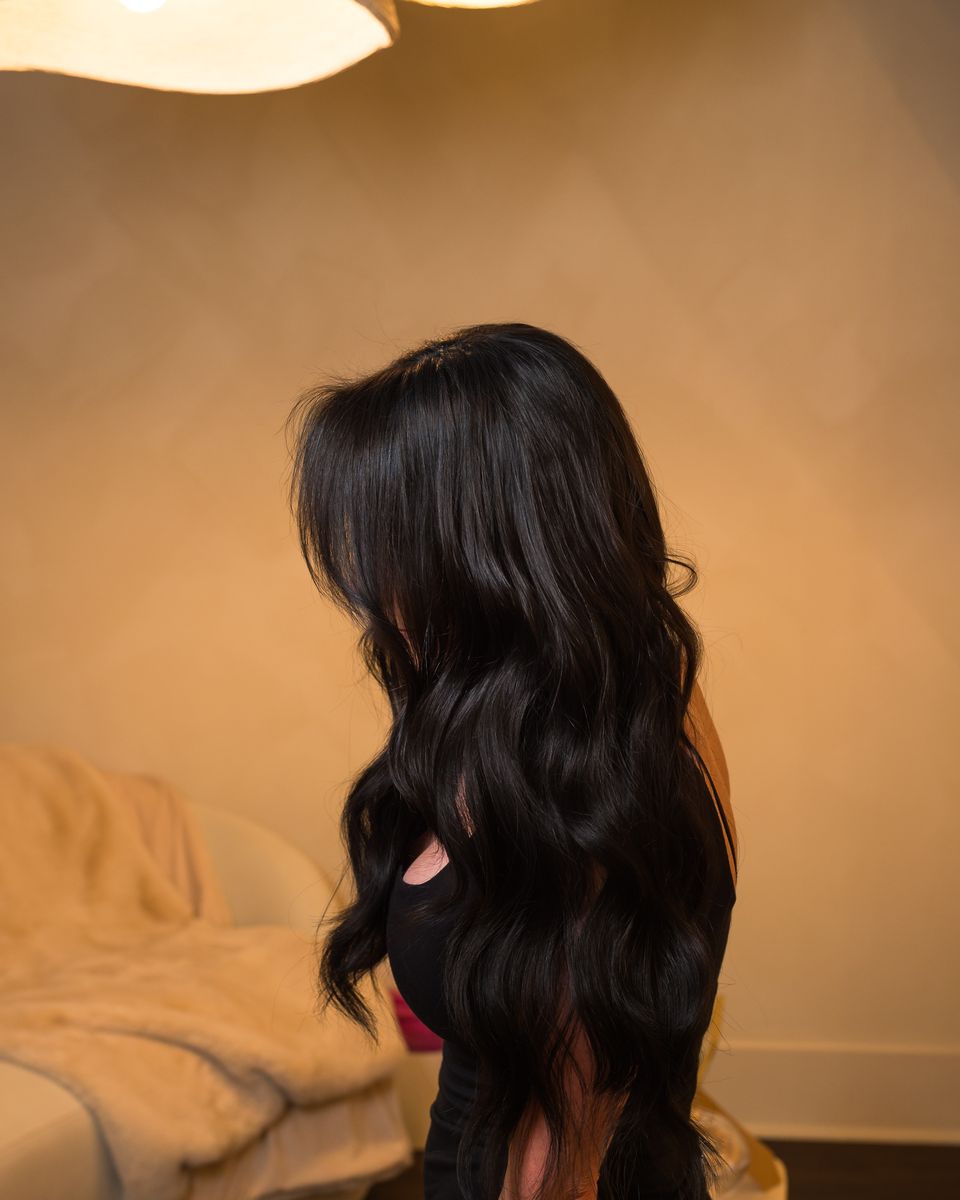
Before and after, from the same content day in the atelier.
Step 1: the consultation and the match
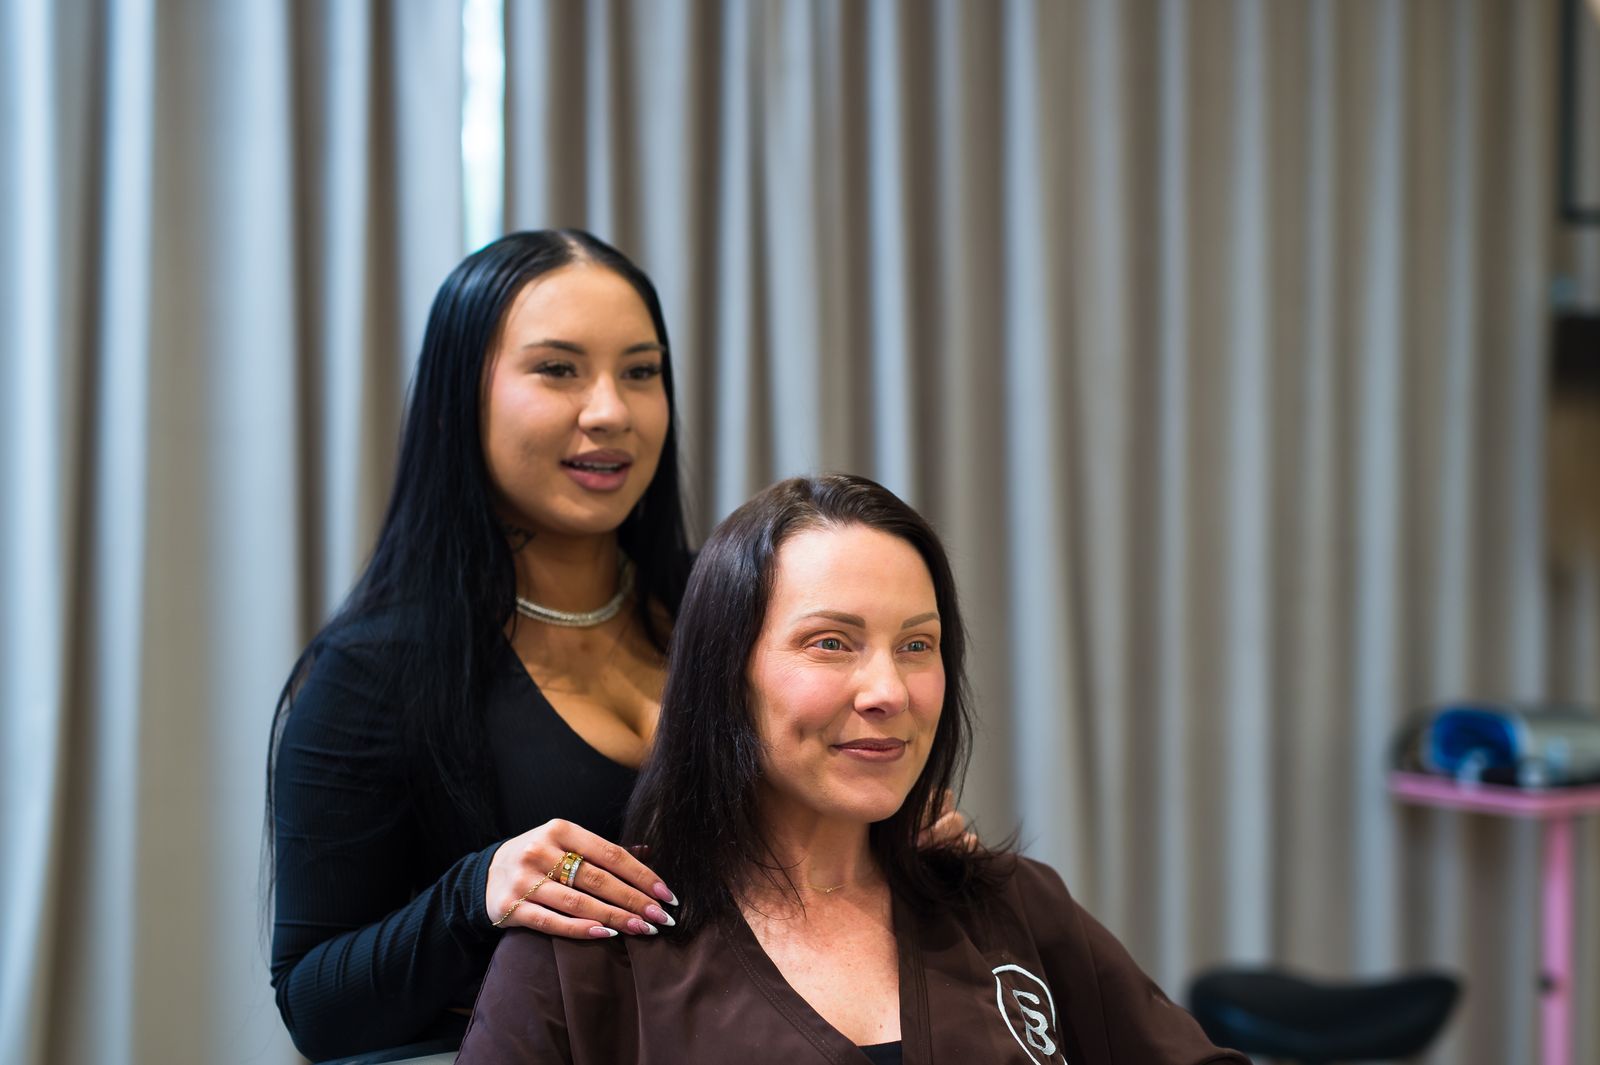
Every install starts in the chair with a conversation: the length you want, how you wear your hair, and how your hair behaves day to day. Then the new hair is matched to yours for color, texture and density, so the two read as one. This is also where we confirm that a beaded row is the right method for you. Our guide to choosing the right extension method explains how that decision gets made.
Step 2: sectioning and the bead row
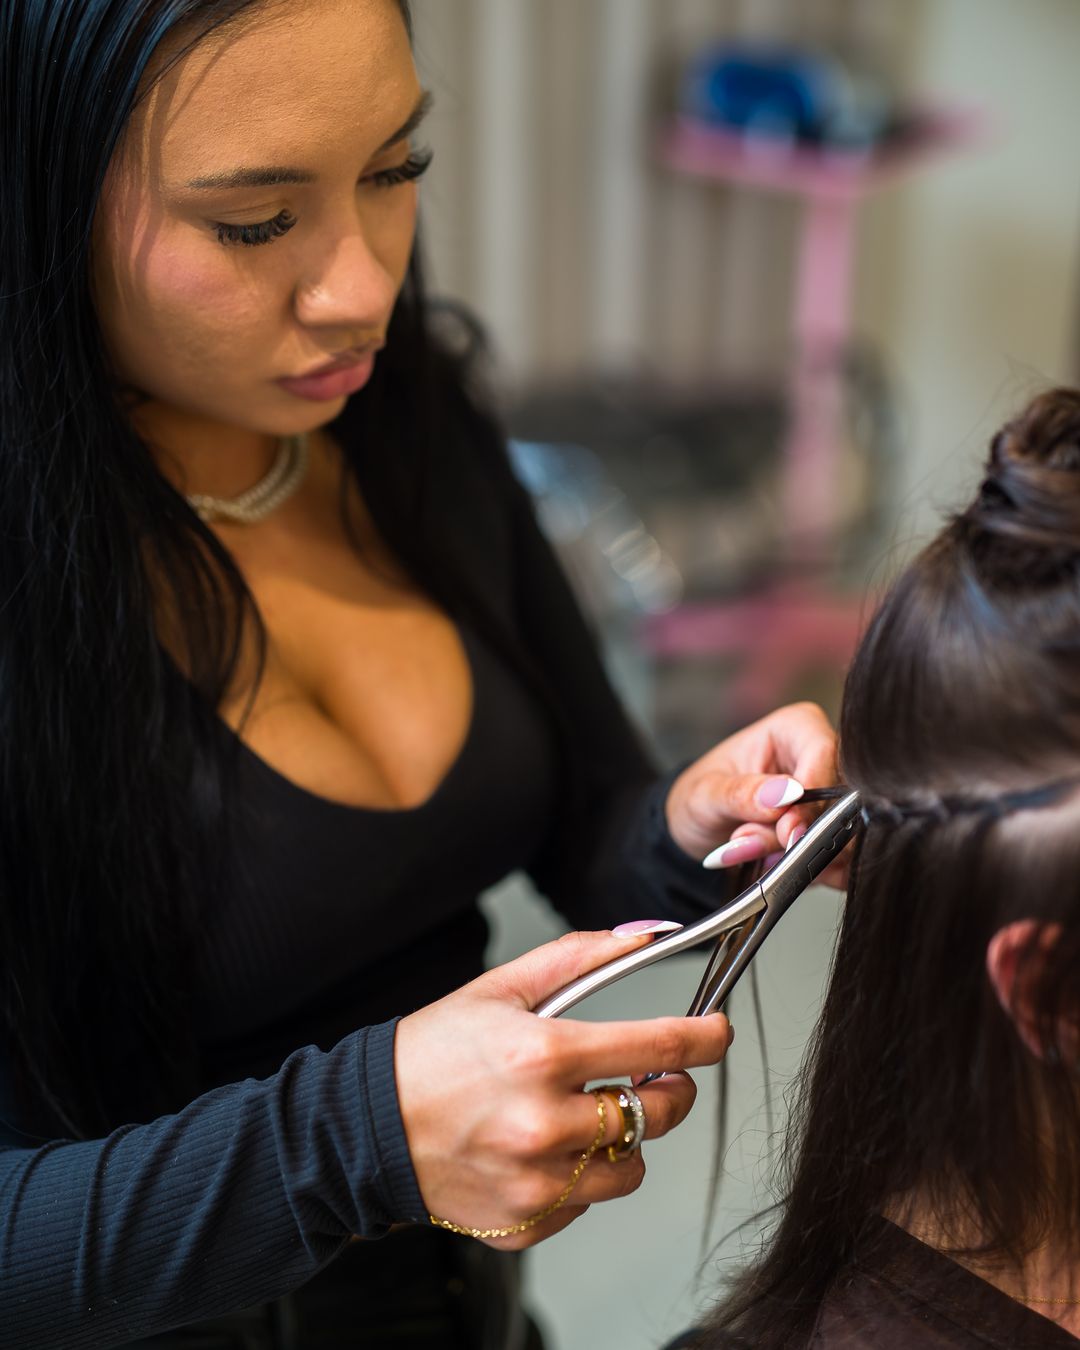
The hair is sectioned cleanly, and a row of small beads is placed along a precise line. Each bead holds a fine section of your own hair, closed with a tool rather than any heat or adhesive. The row becomes the anchor for everything that follows, so its placement decides how invisible the finished result will be.
Step 3: the wefts go on
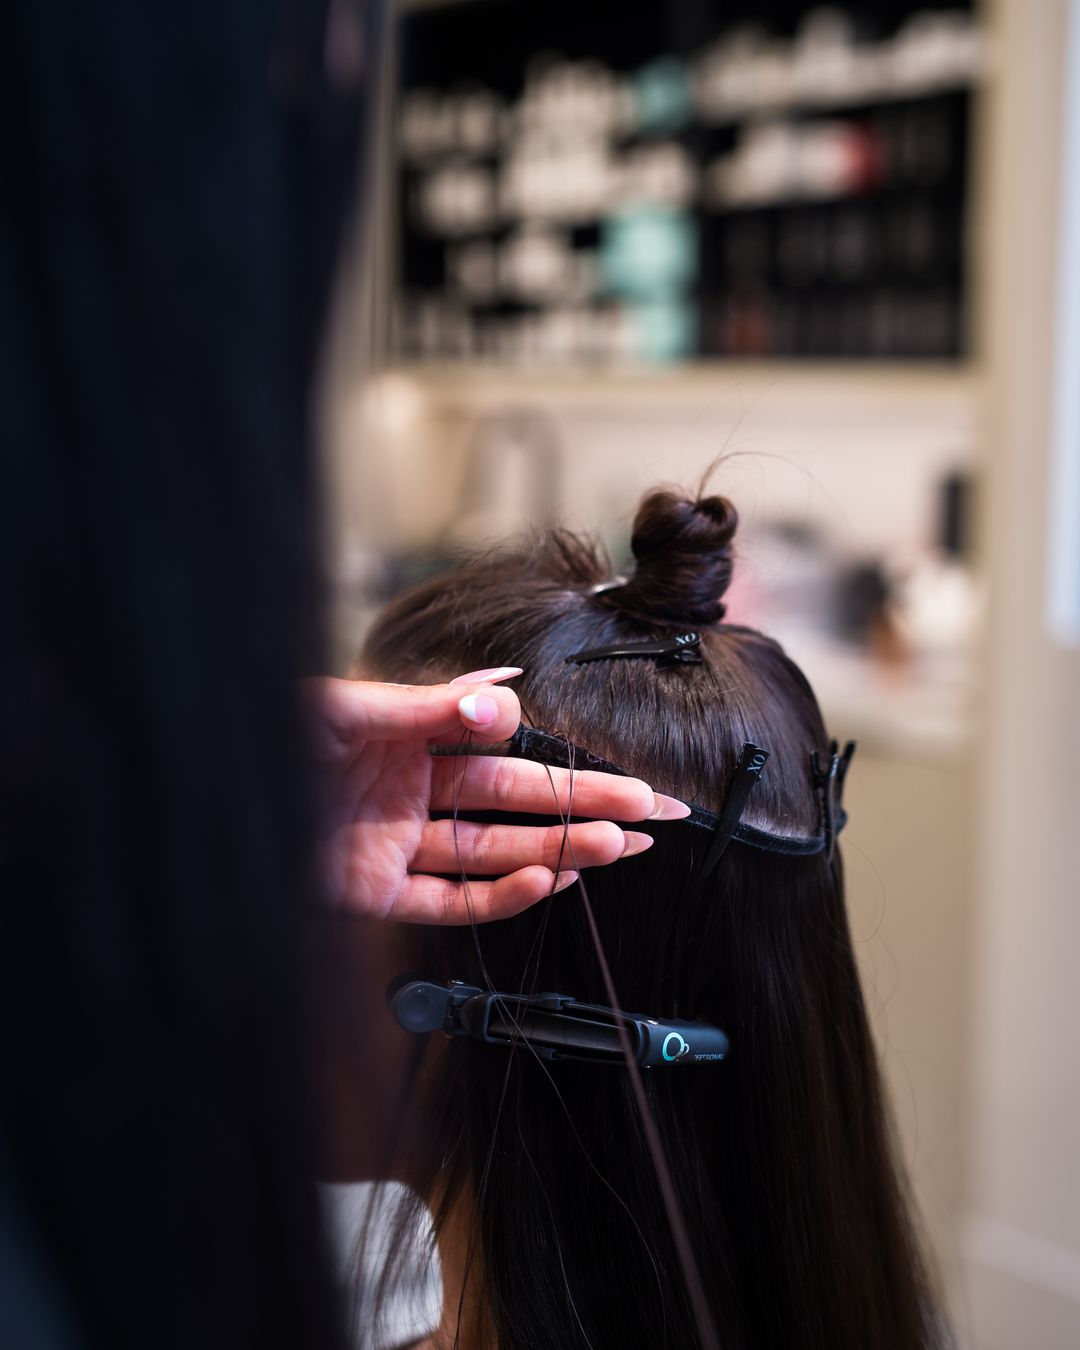
The extension wefts are attached along the bead row, laid flat so they sit close to the head and move with your own hair. Depending on the fullness you want, there may be more than one row. Nothing is pulled tight against the scalp; a well-placed row should feel comfortable from the first day.
Step 4: color that ties it together
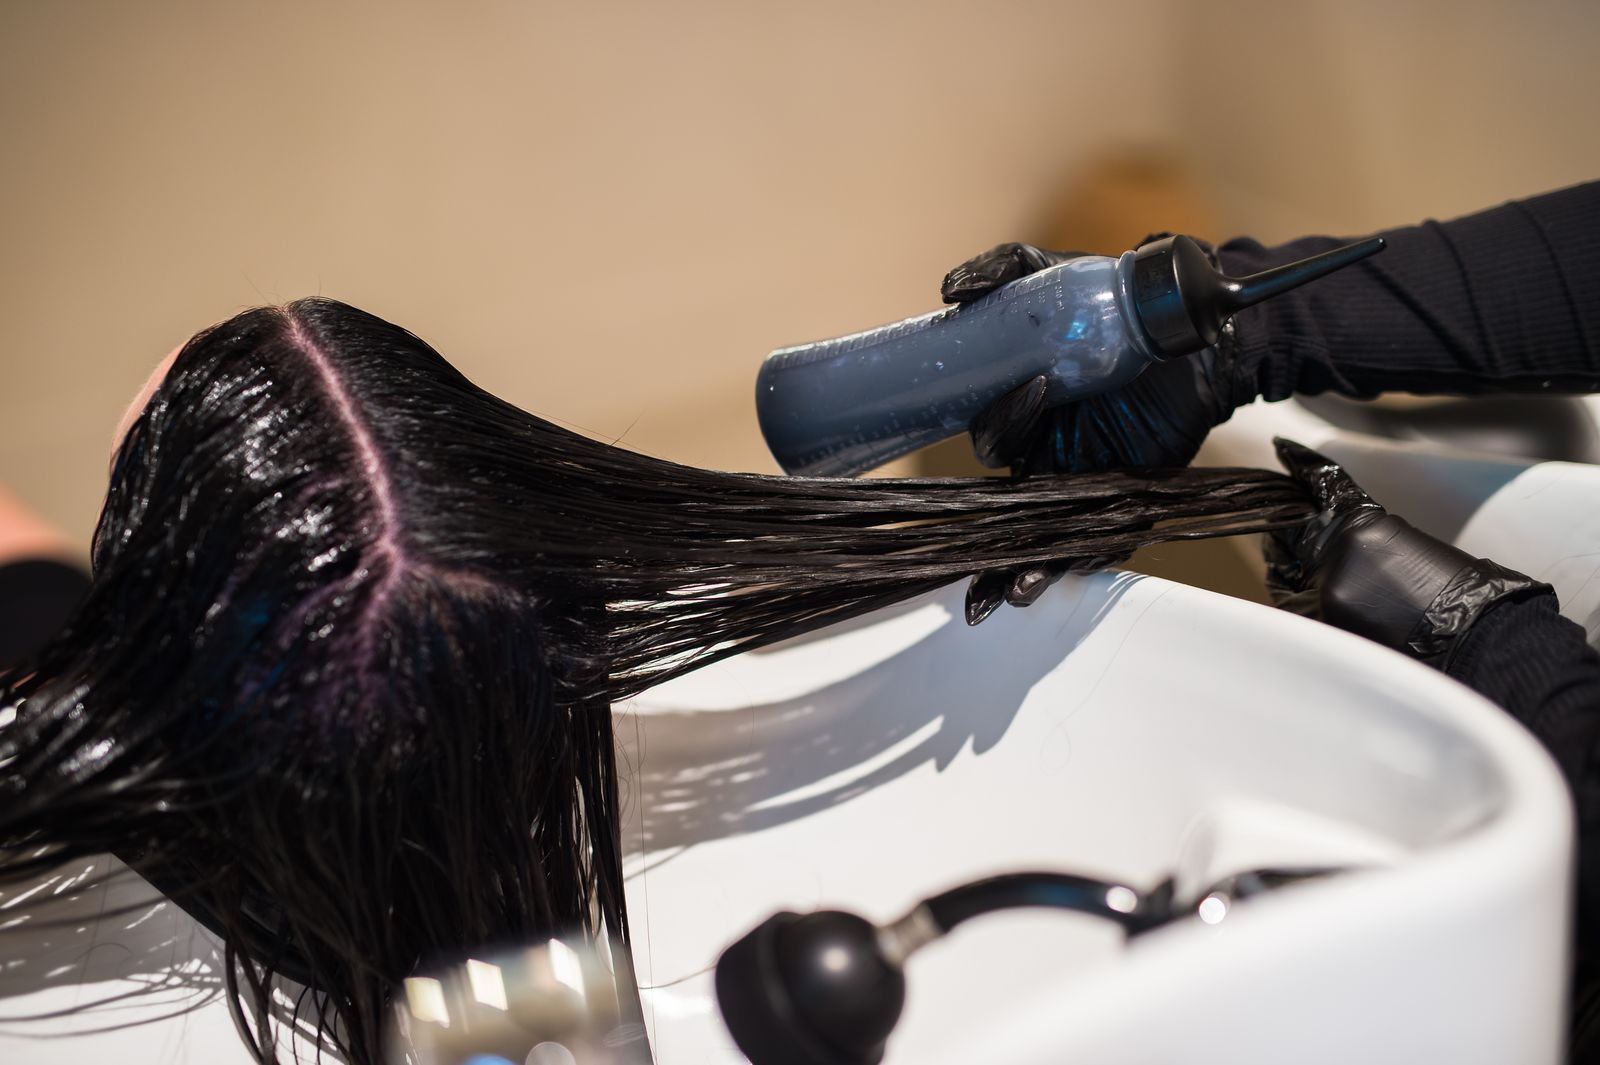
If your own color and the new hair need to meet in the middle, color work at the bowl brings them together so there is no visible line where your hair ends and the extensions begin.
Step 5: the cut and the finish
The last step is the one that makes extensions look like hair you grew. The lengths are cut into your own hair so the layers blend, then styled. In this case that meant long, soft waves with movement through the ends.
Living with a beaded row
Beaded rows are maintained with a move-up every six to eight weeks, when the row is brought back up toward the scalp as your hair grows. With proper care, the hair itself lasts nine to twelve months or more. Our guide to making luxury extensions last covers washing, brushing, sleep and swimming on the Emerald Coast.
Every install begins with a consultation with our extension team, trained by Tania. If you are curious whether a beaded row suits your hair, our hair extensions in Destin page explains every method we offer, and your first consultation walks through how that first visit feels. xo
Frequently Asked
Do beaded-row extensions use glue or heat?
No. Each bead holds a fine section of your own hair and is closed with a tool, and the wefts are attached along that row. There is no adhesive and no heat involved in placing the row.
How often do beaded-row extensions need a move-up?
Beaded rows are moved up every six to eight weeks, when the row is brought back toward the scalp as your own hair grows.
How long does the extension hair last?
With proper care, the hair itself lasts nine to twelve months or more. Gentle washing, brushing and on-time move-ups make the biggest difference.
How do I find out if beaded-row extensions are right for me?
Book a consultation with our extension team in Destin. We look at your hair, how you wear it and the result you want, then recommend the method that suits you.